Help – Road.Book

A complete guide to using the Road.Book application

Back

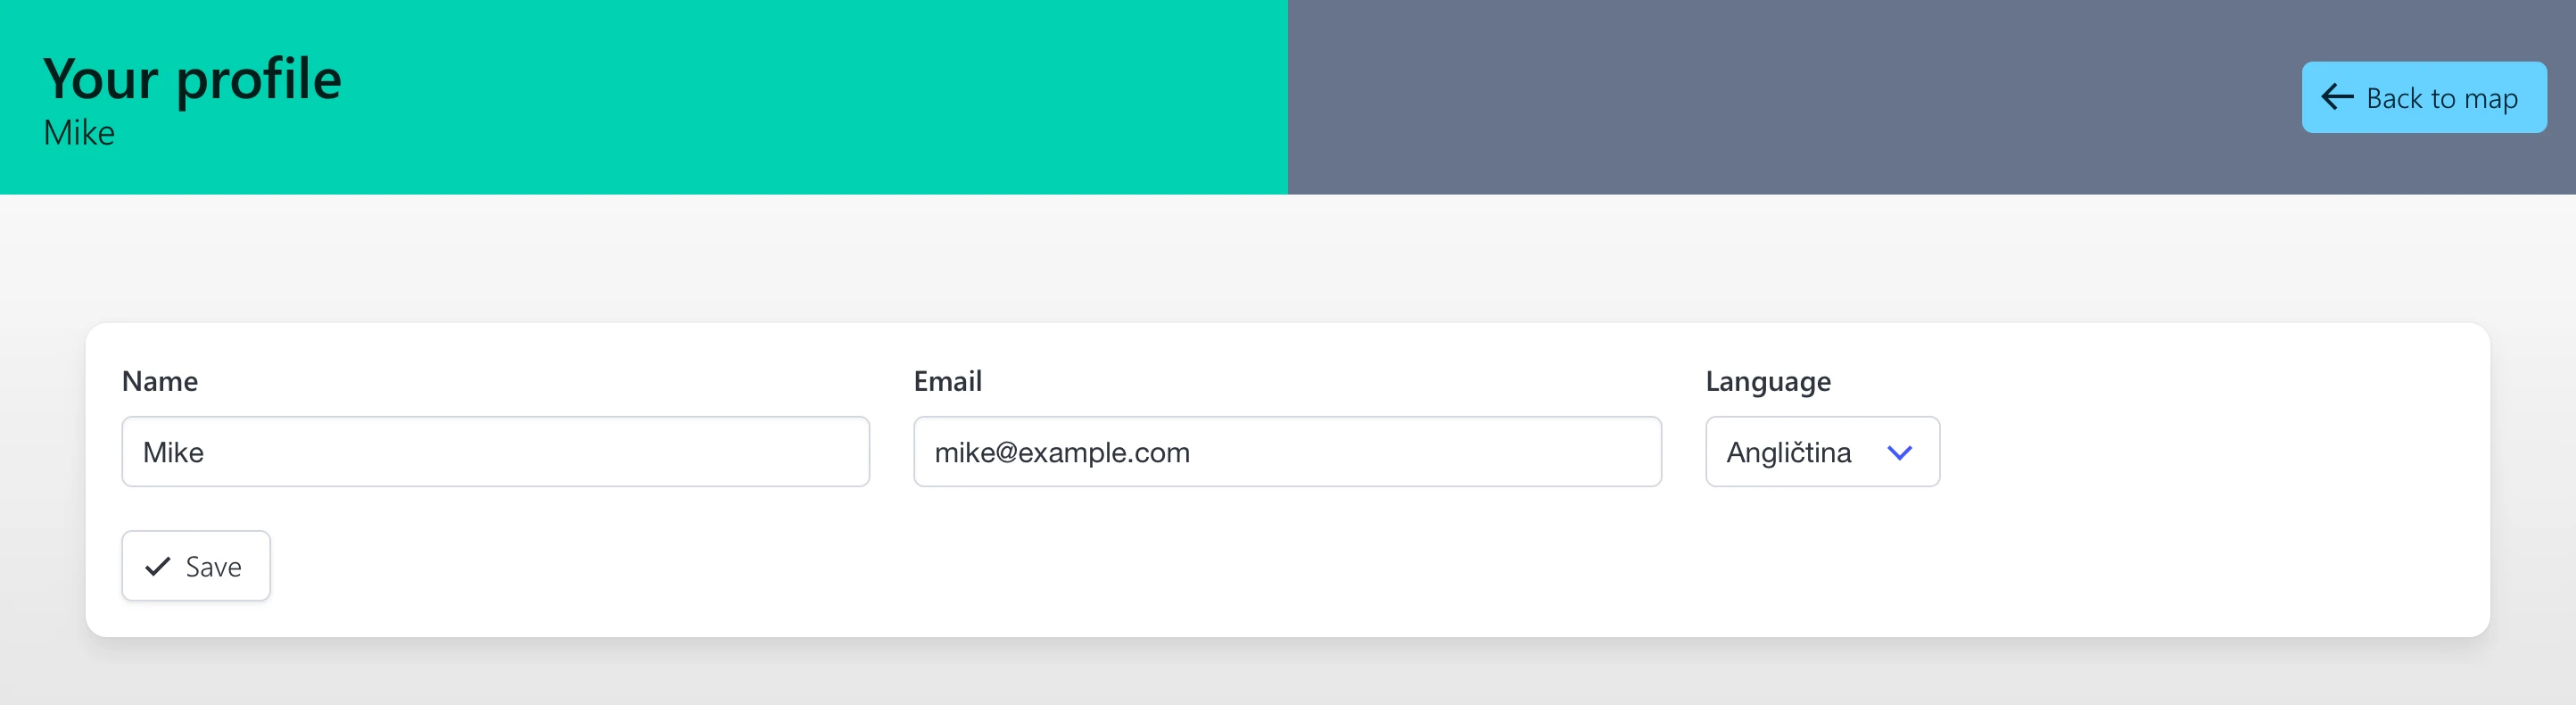
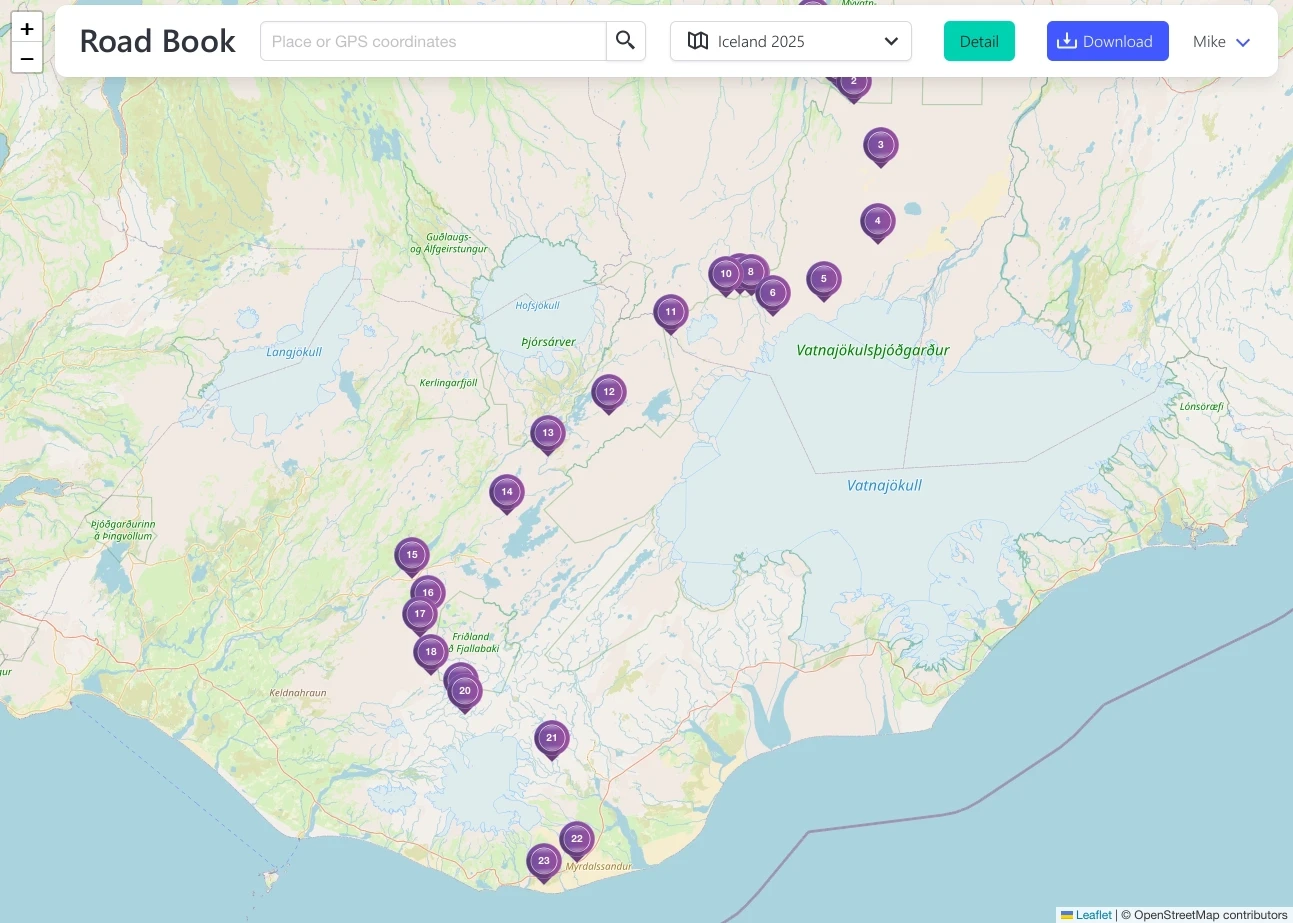
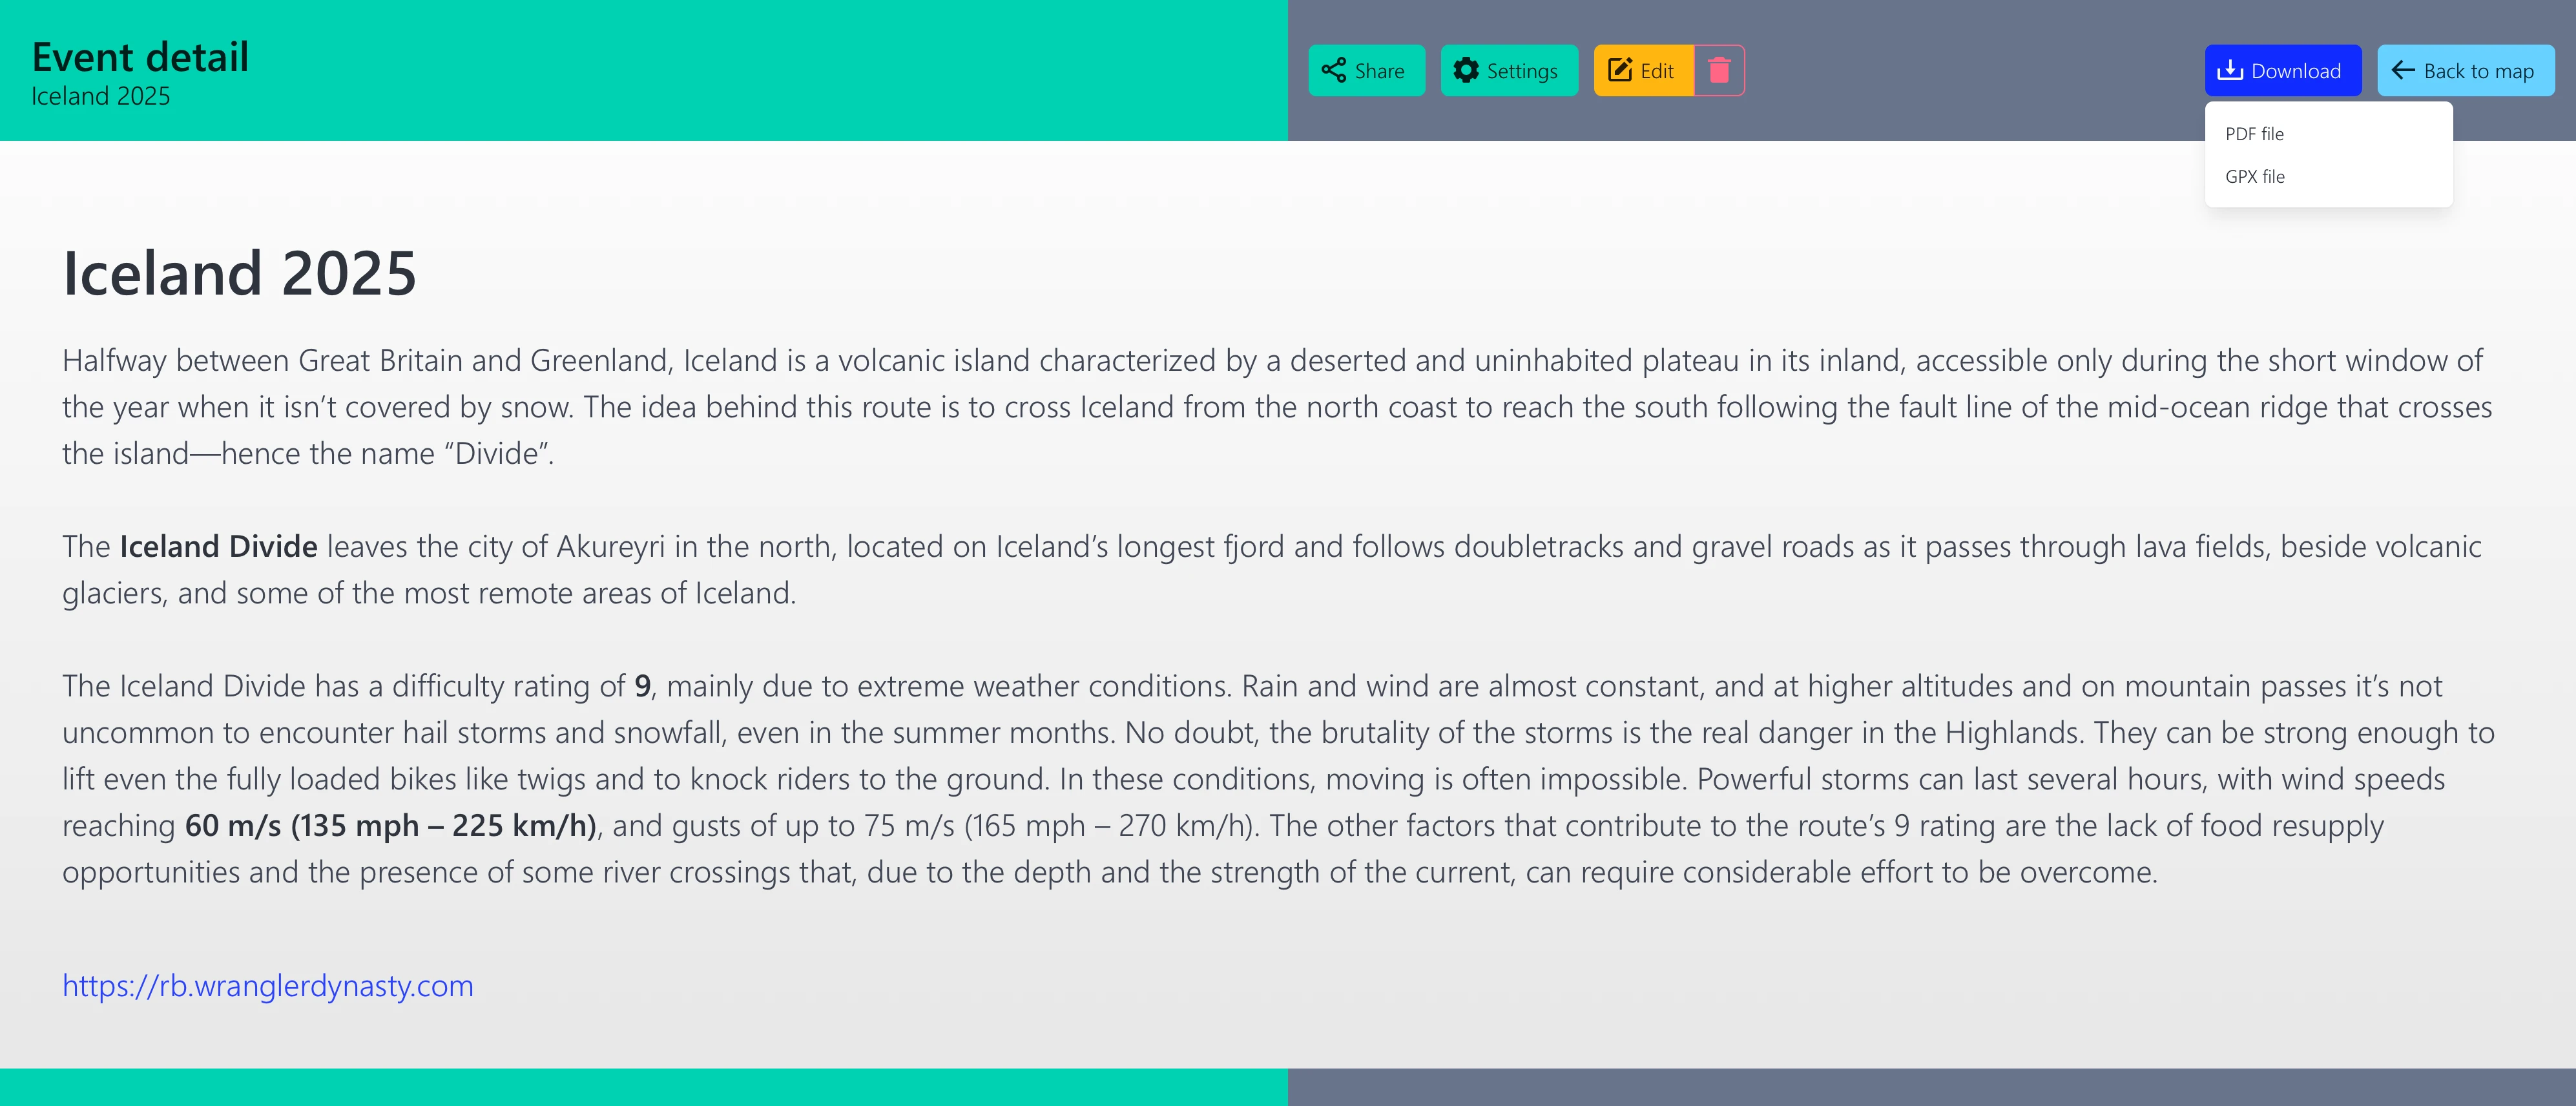
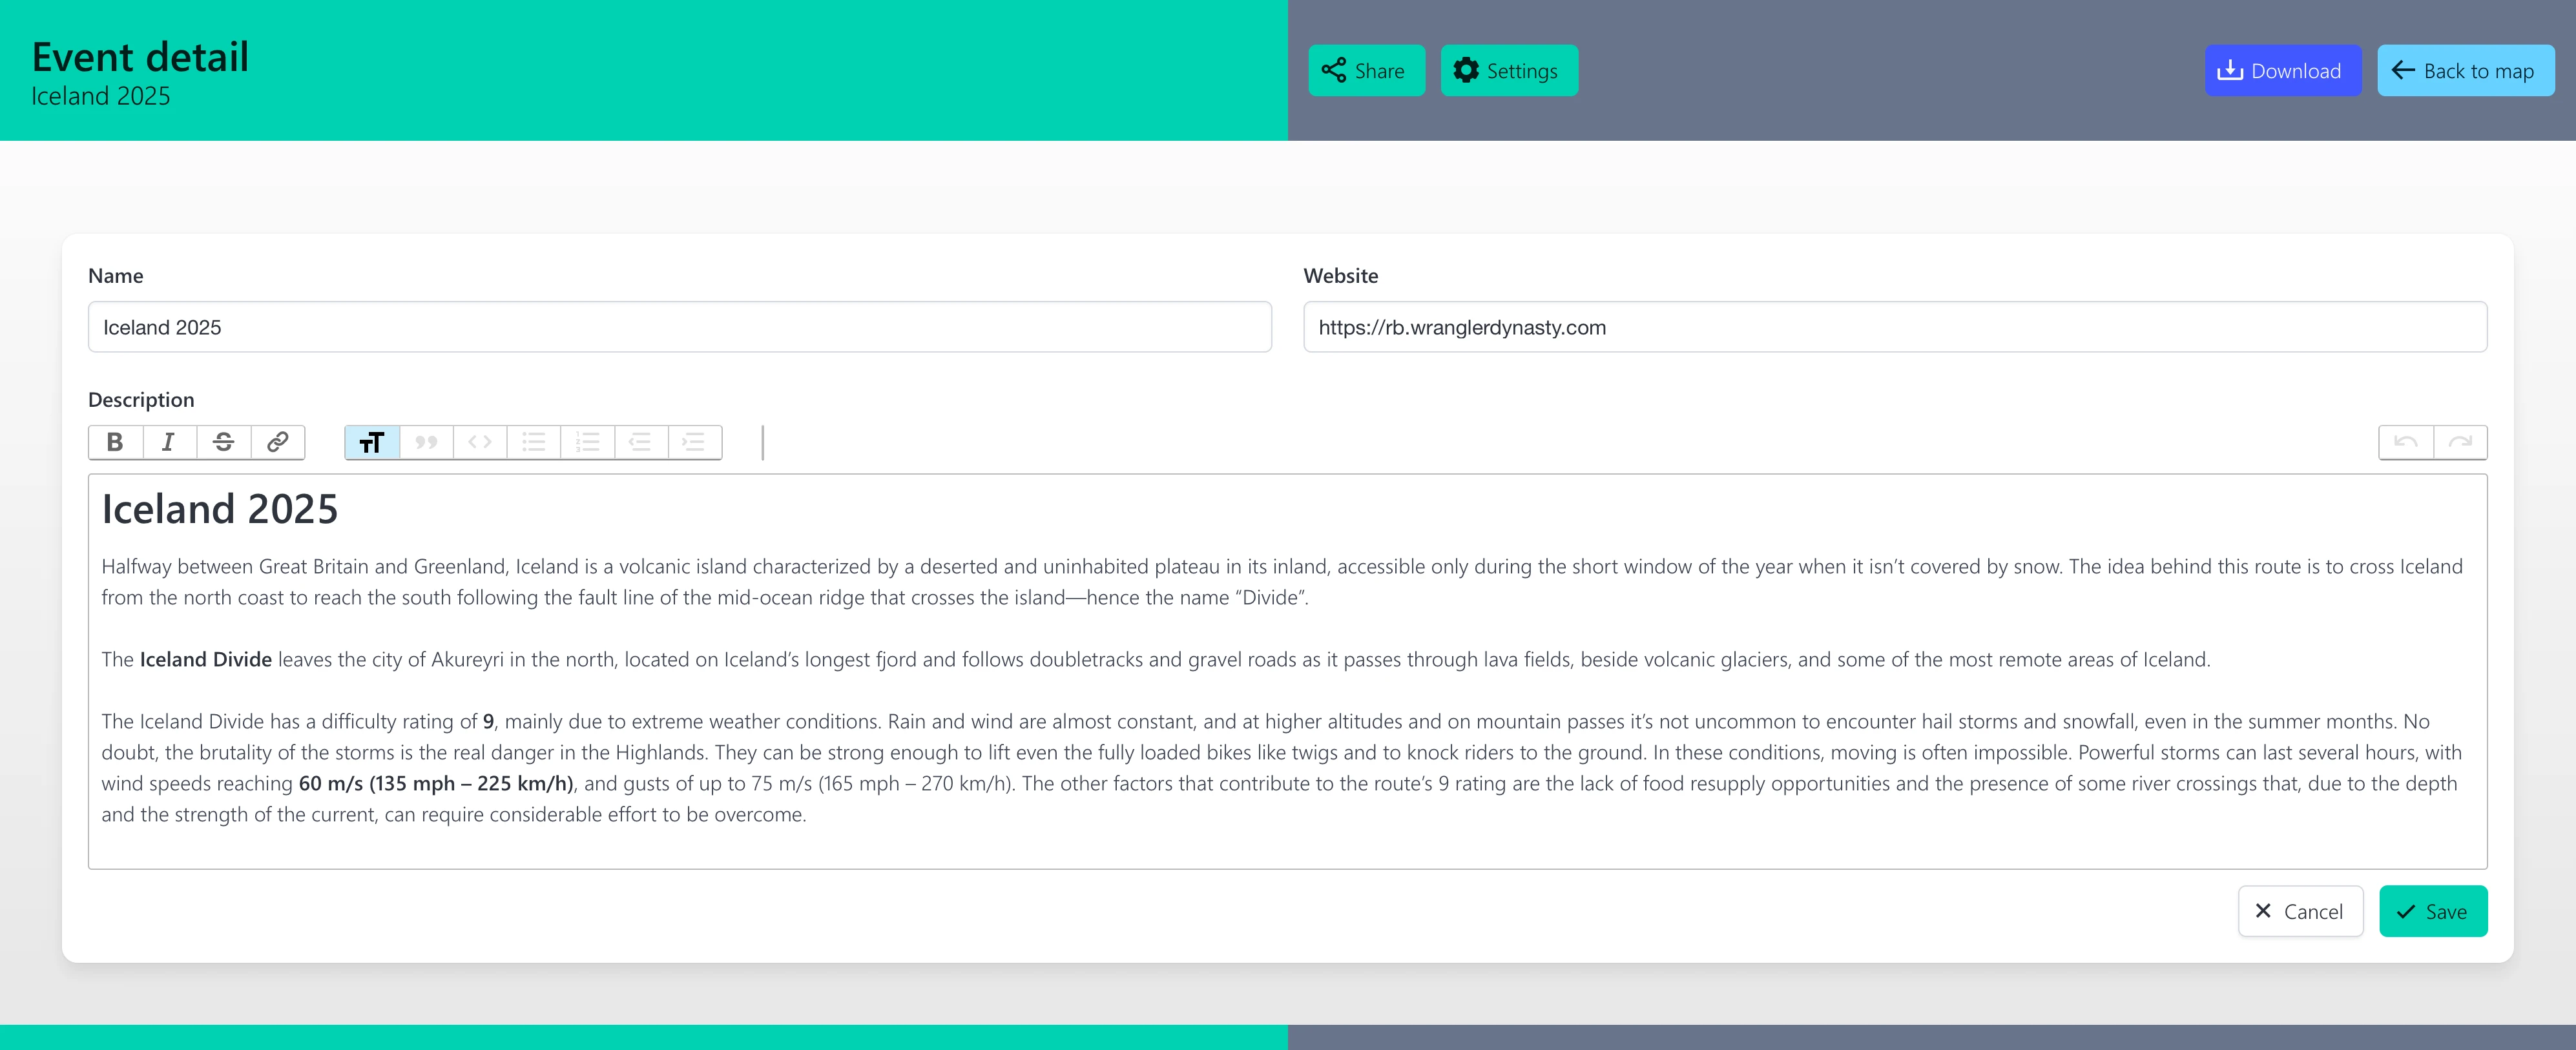
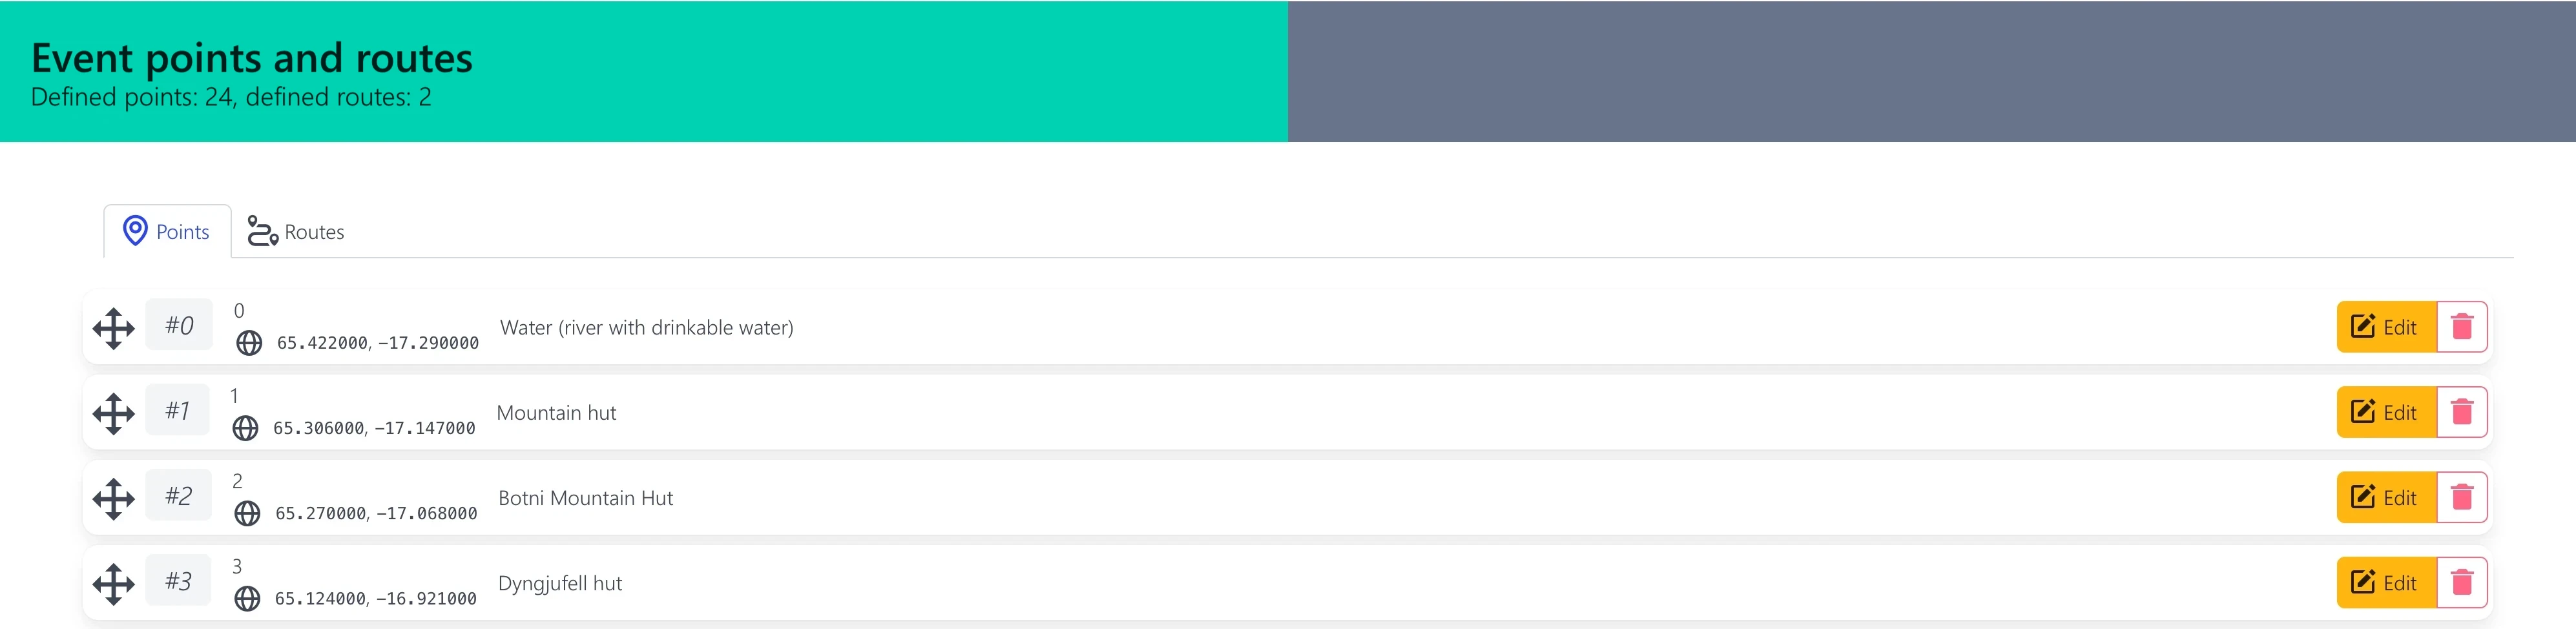
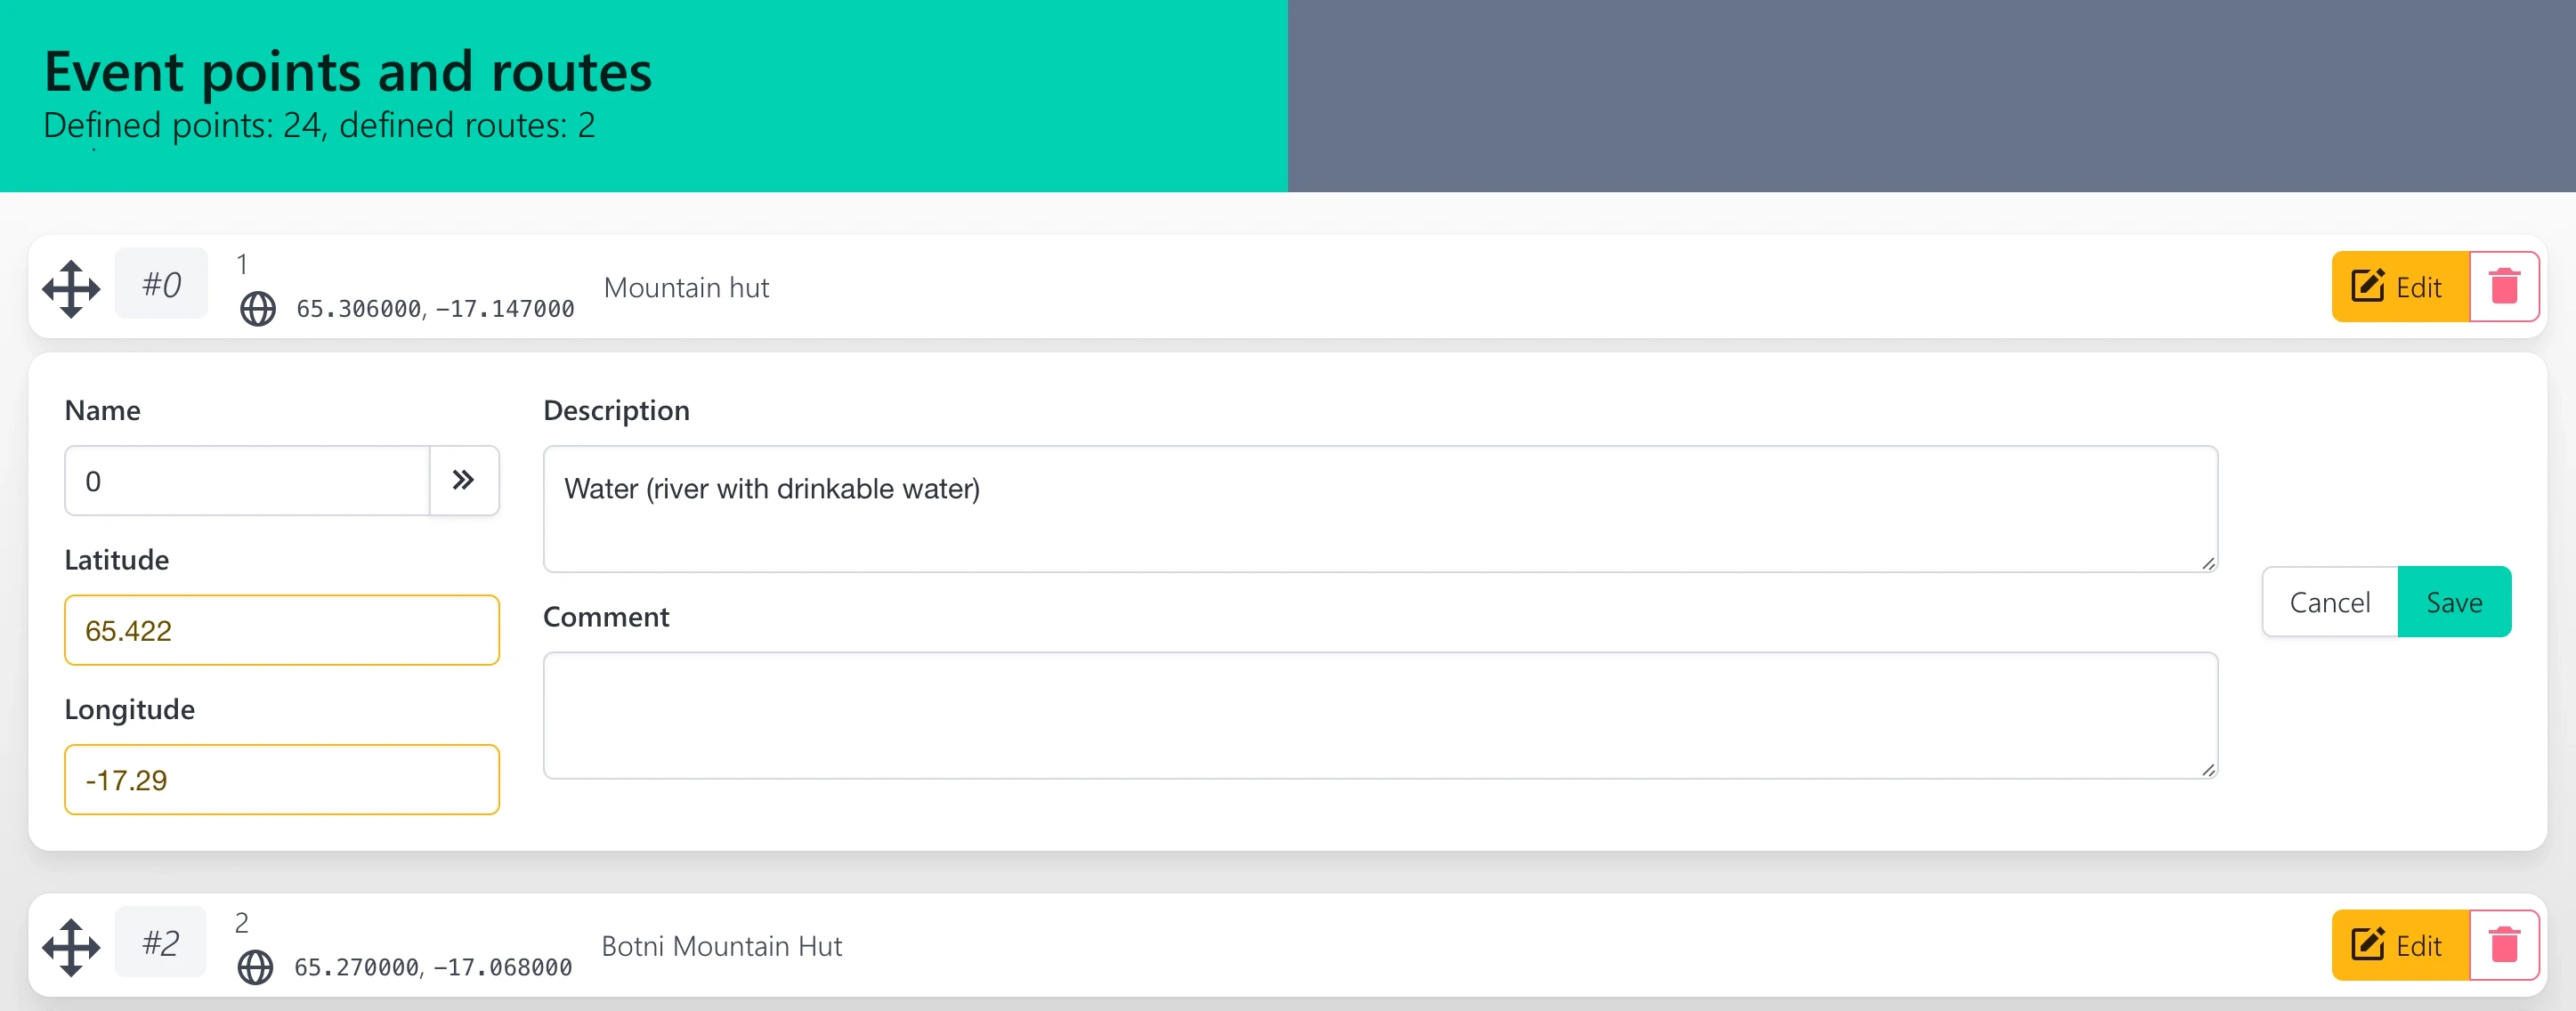
The Road.Book application is an innovative tool for detailed planning and management of trips and events that saves you time and simplifies organization. It allows you to create, edit, and share routes and events, and once you log in via Apple or Google, you gain access to a clear interface with a search box, event selection, and quick access to your profile. In addition to editing detailed information such as GPS coordinates, place names, descriptions, and time data, the application offers export to the GPX format and the option to export to PDF for printing events.

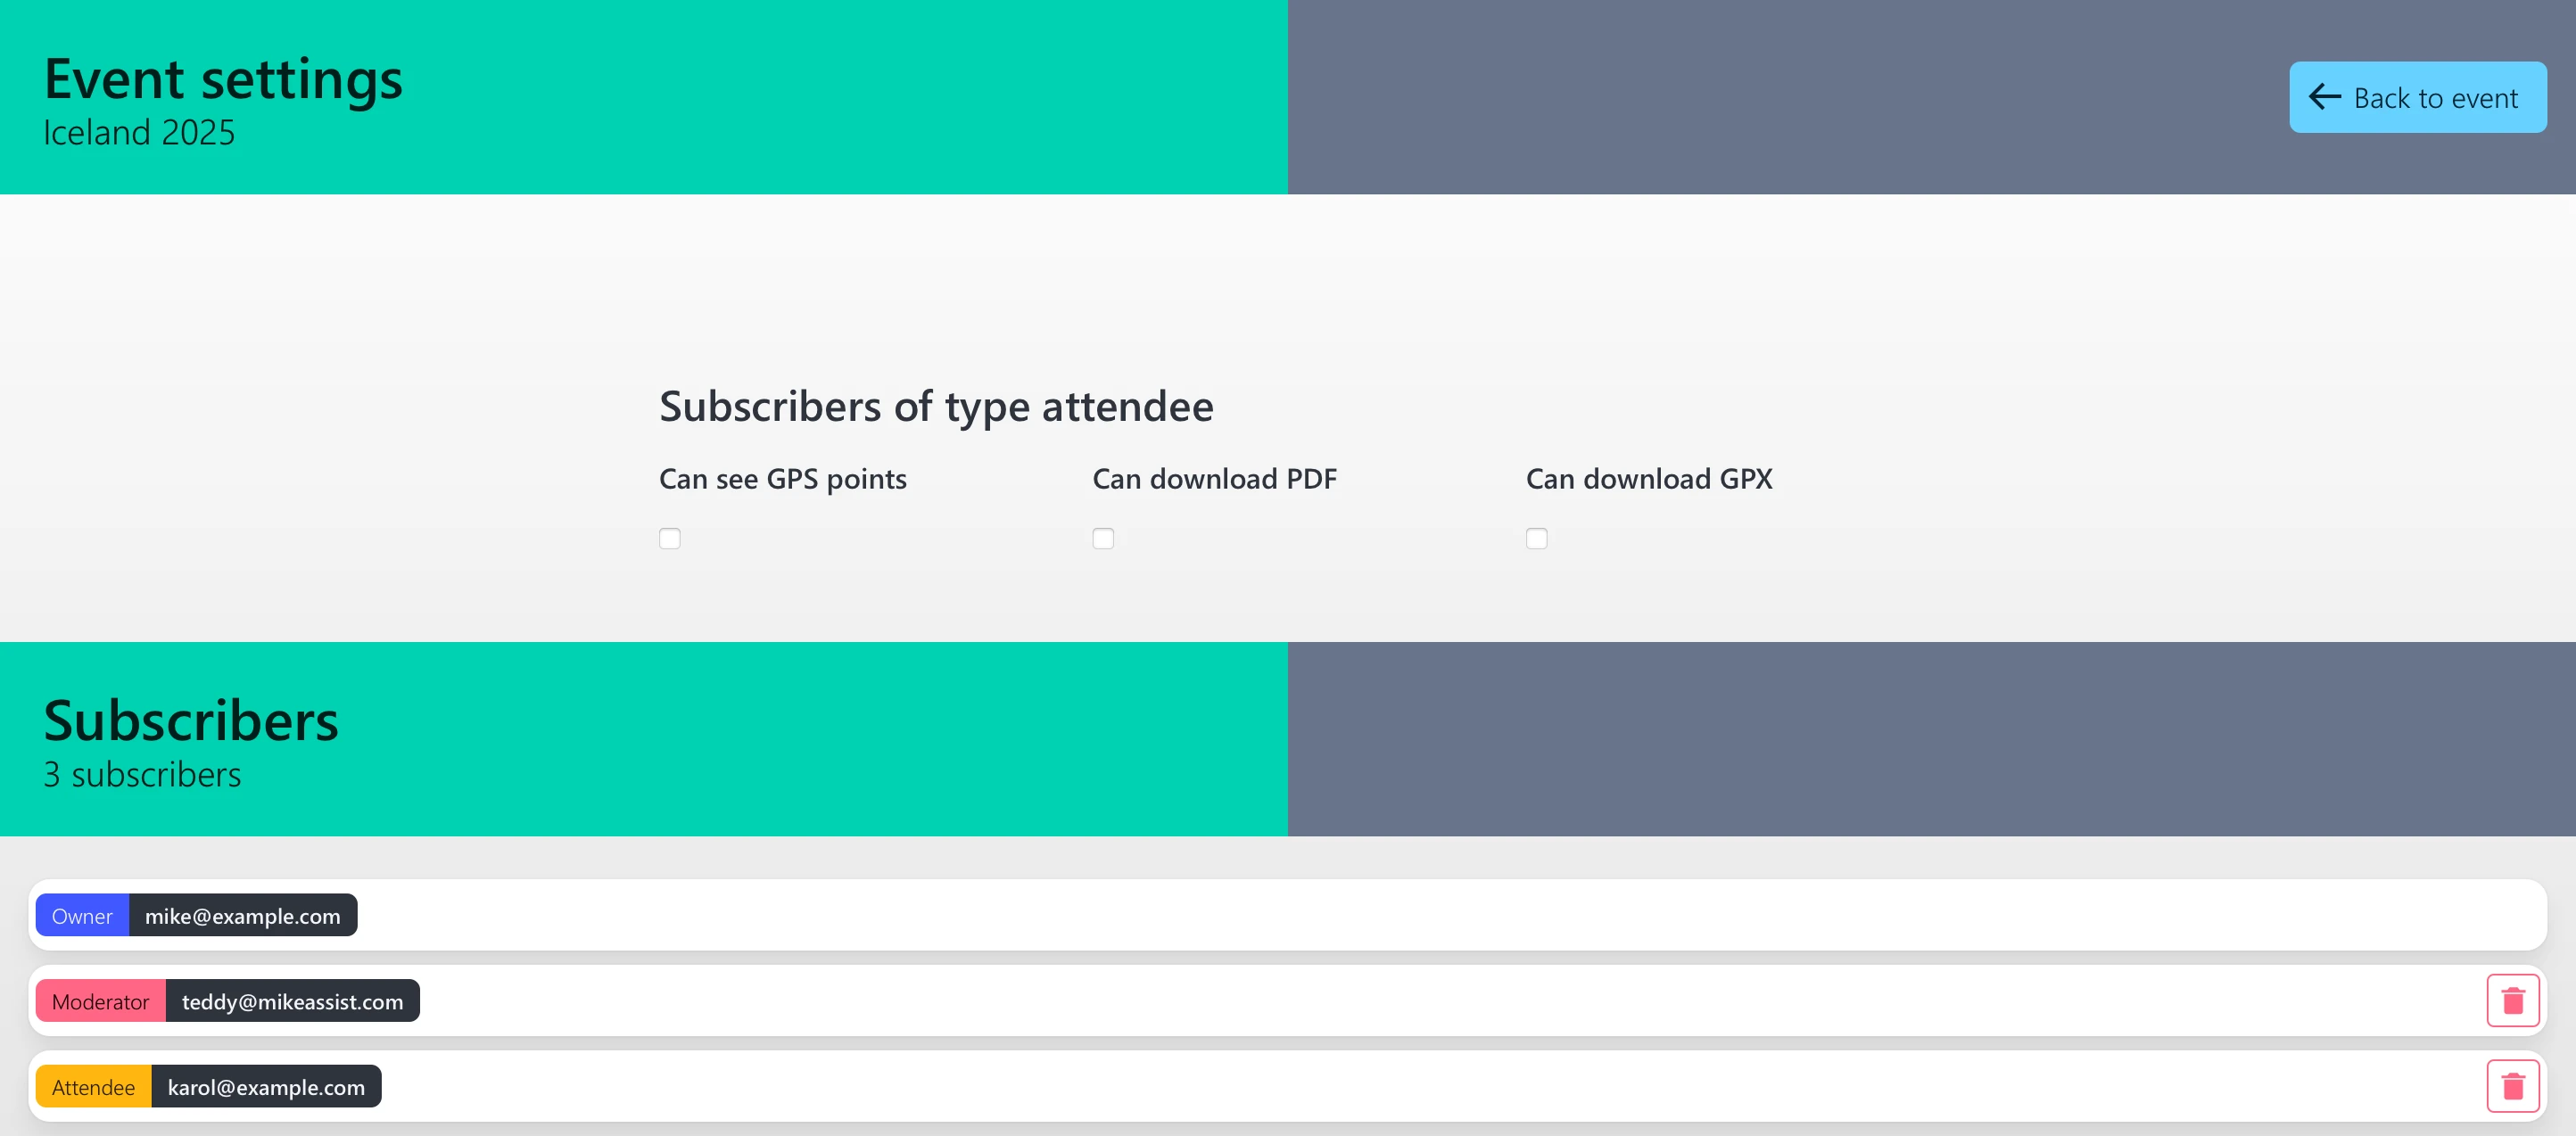
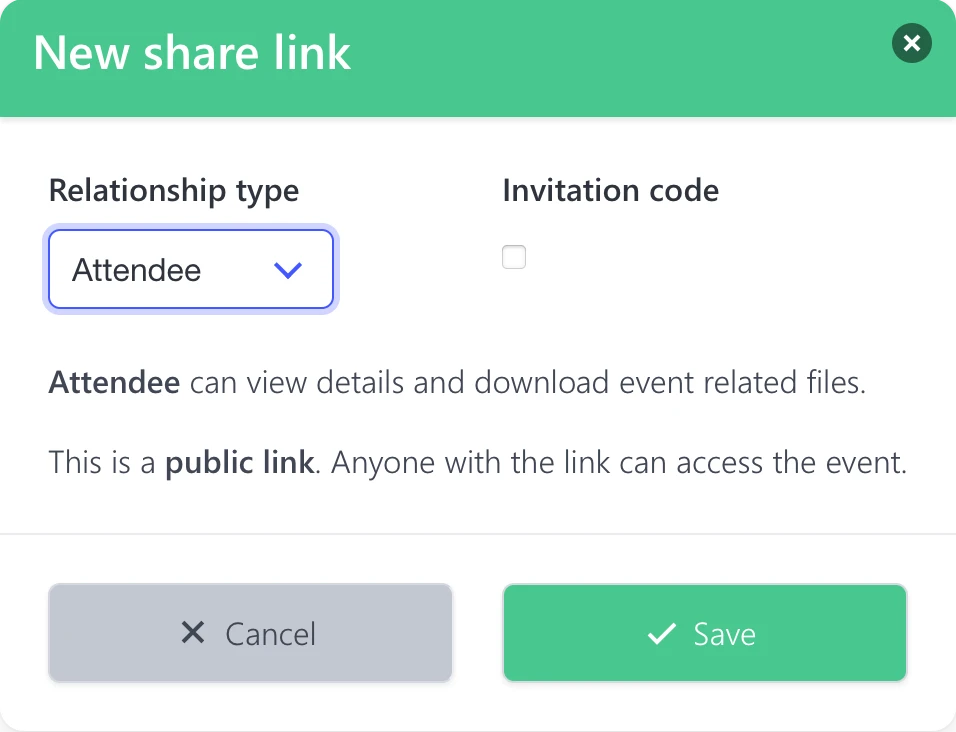
Road.Book also allows you to set access rights, so you can determine who can view, edit, or download event details, including individual permission settings for specific exports shared with other users. The clear and intuitive interface, together with the option for detailed edits—such as customizing the title, description, or assigned website—makes Road.Book a reliable companion for anyone looking for an efficient and secure way to manage their travel plans.

Signing in to the application

How to sign in to Road.Book

Sign-in interface

In the Road.Book application, we decided to simplify the sign-in process. Instead of creating a new account, you can use an account you already use with other services. This approach allows quick and secure sign-in without the need to manage additional login information.

  • Sign in with Apple: Use your Apple account for secure access.
  • Sign in with Google: Use your Google account for quick sign-in to the application.

Application interface

Navigation and features of Road.Book

Application interface

After signing in, the Road.Book application interface is displayed, containing the following elements:

  • Search box: Located on the left side of the top bar. Users can enter a place name or GPS coordinates (e.g. “Reykjavík” or “64.146000 -21.942000”). After clicking the magnifying glass icon, search results are displayed.
  • Event selection box: Located on the right, in the middle section. It contains the option “Please select an event”. After clicking on it, a list of created events is displayed.
  • Name of the logged-in user: Displayed in the top right corner, showing the currently logged-in user’s name. After clicking on the user’s name, a menu appears with options such as Profile and Sign Out.

Managing events

Options and features of the selection box

Event selection box

The event selection box is located on the right, in the middle section of the interface. It contains the option “Please select an event”. After clicking on this option, a list of created events is displayed, with the event Iceland 2025 shown only as an example for the purpose of this guide. To use the system, you need to create your own event or be invited to participate in an existing event.

The system allows you to:

  • View Event Detail: Display detailed information about the selected event.
  • Create a new event: Option to create a new, custom event.
  • Import a GPX file: Create a new event by importing a GPX file.

User name

Features in the top right corner

Logged-in user name

The name of the logged-in user is displayed in the top right corner of the interface. This element provides quick access to user settings.

After clicking on the user’s name, a menu appears containing the following options:

  • Profile: Displays and allows editing of detailed information about the current user.
  • Sign Out: Securely signs out of the application.

Your profile

Managing the currently logged-in user's profile

User profile page

After clicking the “Profile” option in the user menu of the Road.Book application, the profile page of the currently logged-in user is displayed. At the top, there is a section “Your profile” with your name. In the top right corner, there is a light blue button , which allows you to return to the main application interface.

The page contains three editing fields:

  • Name: A text field where you can change your name.
  • Email: A text field containing your email address.
  • Language: A selection field that allows you to choose the application language.

To save changes, there is a button at the bottom of the screen which lets you save the changes made in the profile.

Selecting the displayed event and adding GPS points

Overview and map navigation

Event detail Iceland 2025

After selecting your event example - “Iceland 2025” from the selection box, the following buttons appear at the top of the screen:

  • Green button used to display detailed information about the event.
  • Blue button allows you to download event data in GPX and/or PDF format, depending on the event settings and access rights.

Points representing the waypoints of the event are displayed on the map.

On the left side of the top selection box are icons:

  • Zoom in on the map for a more detailed view.
  • Zoom out on the map for a broader overview.

In addition to using icons, you can zoom in or out using your mouse wheel. By rolling it forward, you get a more detailed view, while rolling it backward shows a wider context of the area.

You can move the map intuitively by pressing the left mouse button, then clicking and dragging. This common method of control allows smooth and comfortable navigation around the map.

If you created the event or have the rights to edit it, you can add a GPS point to it in two ways:

  • Right-clicking on the map – By right-clicking anywhere on the map, the point is automatically added to the click location.
  • Searching for a place – In the top search field, you can enter a place name or coordinates, then left-click the icon on the map that represents the searched point to add it to the event.

Detail and Download button actions

Functionality of event buttons

Detail and Download button functions

After clicking the green button , the event detail is displayed, providing detailed information about the event and possibly its GPS waypoints.

After clicking the blue button , a menu appears with file download options. The user can choose between the following formats:

  • PDF: A PDF document containing a summary of the event, including its GPS points.
  • GPX: A GPX file intended for use in navigation devices.

Event detail

Overview and management of the selected event

Event Detail page

On the Event detail screen, the event name Iceland 2025 is displayed. In the top row on the right, there is a gray bar with buttons to control the event:

  • Green button Allows you to share the event.
  • Green button Provides configuration options for the event.
  • Orange button Used to edit event details such as its description and name.
  • Button with a red Trash icon Allows you to delete the event.
  • Blue button After clicking, a dropdown menu appears with download options:
    • PDF file: A summary of the event in PDF format.
    • GPX file: Navigation data for the event.
  • Light blue button Allows you to return to the main map screen.

Editing an event

Adjusting details of the selected event

Editing event details

After clicking the button in the Event detail section, a form for editing the event’s details is displayed.

The event editing form contains:

  • “Title” field: Contains the current name of the event.
  • “Website” field: Allows you to enter a URL associated with the event.
  • “Description” text field: Provides the option to edit and format text. It allows the use of bold type, italics, links, headings, and other formatting options.

At the bottom of the form, there are buttons:

  • The button allows you to discard changes made.
  • The button confirms and saves the adjustments made.

Event points

Overview of the points of the selected event

Event points page

Below the event description is the Event points and routes section, showing the total number of defined points. In two tabs, you can view the event’s points and routes if they have been made available by the event owner.

In the Points tab, each point is displayed as a separate row and includes:

  • An icon with arrows for moving the point up or down by dragging with the mouse (if you are the owner or moderator of the event).
  • The point’s sequence number (#0, #1, #2, #3...).
  • The point’s GPS coordinates (e.g. 65.366000, -17.147000). The display format can be switched by clicking the globe icon.
  • The point’s name (e.g. “1”).
  • A description of the point (e.g. “Mountain Hut”).
  • The point’s comment.
  • The orange button used to edit a specific point (if you are the owner or moderator of the event).
  • The button with the red Trash icon used to remove the point (if you are the owner or moderator of the event).

Editing an event point

Adjusting point details in the Event points and routes section

Editing an event point

After clicking the button in the Event points and routes section, you can edit a specific point (if you are the owner or moderator of the event).

The currently open point for editing contains the following fields:

  • Name: A field for editing the identifier of the point.
  • Latitude and Longitude: Fields for editing GPS coordinates.
  • Description: A text field for the point description.
  • Comment: A text field where a comment can be added to the point.

On the right, there are buttons:

  • The button allows you to discard the changes made.
  • The button confirms and saves the changes made to the current point.

Event routes

Overview of the routes of the selected event

Event points page

In the Routes tab, each route is displayed as a separate row and includes:

  • An icon with arrows for moving the route up or down by dragging with the mouse (if you are the owner or moderator of the event).
  • The route’s sequence number (#0, #1, #2, #3...).
  • The name of the route (e.g. “Route 1”).
  • A description of the route (e.g. “First route”).
  • A comment on the route (e.g. “It may be challenging”).
  • The orange button used to edit the specific route (if you are the owner or moderator of the event).
  • The button with the red Trash icon used to remove the route (if you are the owner or moderator of the event).
  • The button for adding a new route (if you are the owner or moderator of the event).
  • At the very bottom of the row is a list of route points in the form of the point’s sequence number and the point name.

Editing an event route

Adjusting route details in the Event points and routes section

Editing an event point

After clicking the button in the Event points and routes section, you can edit a specific event route (if you are the owner or moderator of the event).

The currently open route for editing contains the following fields:

  • Name: A field for editing the identifier of the route.
  • Description: A text field for the route description.
  • Comment: A text field where a comment on the route can be added.
  • Color: By clicking on the color, you can change the route color.
  • Route points list: At the very bottom, there is a list of route points. Points can be added to the route by selecting the available points in bulk on the left with the mouse and then clicking the button.
    Points added to the route can be removed by clicking the
    #66
    icon.

On the right, there are buttons:

  • The button allows you to discard the changes made.
  • The button confirms and saves the changes made to the current route.

Event settings

Configuration of the selected event

Event settings

After clicking the button in the Event detail section, the settings for the given event are displayed. At the top of the screen is the heading “Event settings”. On the right, there is a light blue button that allows you to return to the previous screen.

In the “Event settings” section, users can set permissions for event participants. Three options are available in the form of checkboxes:

  • Visible GPS points: Allows participants to see the event's GPS points.
  • Option to download PDF: Permission to download a PDF file of the event with a description and GPS points.
  • Option to download GPX: Permission to download a GPX file for navigation.

Below is the “Subscribers” section, displaying a list of people who have access to the event. The total number of subscribers is indicated at the top (e.g. 3 subscribers).

Each subscriber is shown as a separate row, which includes:

  • A color-coded role of the subscriber
    • Owner
    • Moderator
    • Participant
    • Follower
  • The subscriber’s email address is shown next to their role.
  • A red trash icon button that allows you to remove the subscriber from the event.

Sharing settings

Managing the sharing of the selected event

Sharing settings

After clicking the button in the Event detail section, the Sharing settings for the selected event are displayed. At the top of the screen, two buttons are available:

  • A light blue button allows you to create a new sharing link.
  • A light blue button allows you to return to the previous screen.

Once at least one sharing link is created, the screen displays a list of the individually created links. Each item in the list shows:

  • Type of rights that will be granted to those who use the link

    • Owner
    • Moderator
    • Participant
    • Follower
  • Type of link, which can be either private or public

    • Private requires a unique access code for each person who uses the link. The unique code can only be used once. With this type of link, you need to create a list of users for the link. The unique code is generated automatically. To add a user, simply enter their email address.
    • Public means that anyone with the link gets access and rights according to the link’s settings, simply by clicking the link.
  • The sharing link itself, which can be copied using the icon

  • Description that explains the chosen rights and type of link

  • A list of unique codes and users’ email addresses, but only if the link type is Private.

The list of accesses for moderators includes:

  • The user’s email address.
  • An access code with a button to copy it.
  • An orange button that allows changing the email address.
  • A red trash button that allows removing the moderator.
New sharing link

After clicking the button in the Sharing settings section, a window titled “New sharing link” opens.

The window contains the following elements:

  • On the left: A selection box “Type of relationship”. After expanding it, the following options are available:
    • Moderator: Grants permission to edit the event. The rights are the same as the ownership rights to the event.
    • Participant: Depending on the settings, allows viewing points on the map and event routes, as well as downloading the event files in GPX and PDF format. The participant does not have any rights to edit points, routes, or event settings.
    • Follower: Provides access to the event description without the ability to see the points and routes of the event or to download event files. They also have no rights to make any modifications.
  • On the right: A checkbox “Invite code”, which can be enabled to restrict access via a code, i.e., the Private type of event. If the checkbox is not selected, it is a Public type event.

Below the relationship selection is an informational text explaining the permissions of the selected relationship and event type.

At the bottom of the screen are buttons:

  • The gray button closes the window without saving changes.
  • The green button saves the settings and generates a new sharing link.